Step Three – Moving files to DirectAdmin
Next you will want to log into your DirectAdmin account.
If you have any add-on domains or subdomains click on Domain Setup.
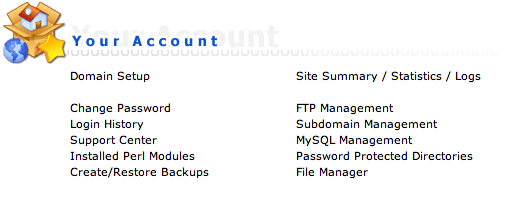
Once you have added the domains and subdomains you have, you can then click on Files in the top menu bar. Then click on the ‘domains’ folder. Here you’ll see a list of each of your primary domain. For each domain you will want to click into them until you reach public_html.
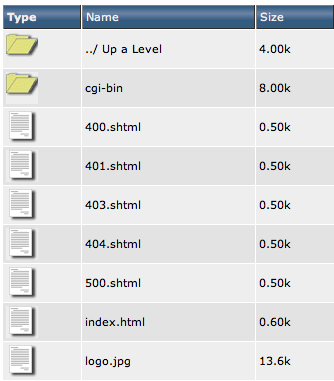
You can select all the files in this folder and delete them (Except for any subdomain folders). Once removed click on “Upload files into the current directory” button near the bottom. On this page you can select the zip file you created for that domain and upload it.

Once uploaded you can click on the ‘extract’ link in the same row. Doing so will give you a preview of the compressed archive’s contents. As you can see from my test zip, being on OSX there’s a couple extra files (such as __MACOSX and .dstore which can be deleted after extraction), and you can also see that when extracted it will create a public_html folder. Extract the file.
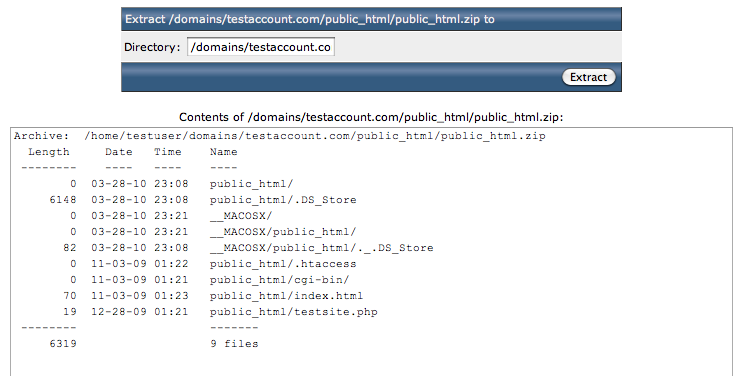
Once extracted, if the home directories files unpacked in the correct location then you don’t have to worry bout moving anything. However if your compressed file extracted into a new folder such as another public_html folder, you’ll want to click into that folder. And on the top right select all files, then click on ‘Add to Clipboard’

Then you can go back up one folder, and then click ‘Move Clipboard Files Here’, after which you’ll want to make sure to click ‘Empty Clipboard’. From there you can delete the extra public_html folder, and the .zip file that was originally uploaded. Repeat this step for each domain you have. Subdomains will appear as a folder under the original domain’s name. So if you have sub.testsite.com it will appear as a folder named /sub under /domains/testsite.com/public_html.
WordPress and Database driven site Tip
If you run a wordpress blog, there is a good chance that your new DirectAdmin account does not share the same username as your Cpanel account. For this reason you will want to edit your wp-config.php file to change the prefixed username_database/usr to the new username before the _. Also note the password in the wp-config.php
Step Four – Preparing your Database
In your extracted cpanel backup folder you will see a folder called mysql. Within this will be SQL dumps of each of your database (including horde or roundcube webmail databases).

Log back into DirectAdmin and click on any domain to find “MySQL Management” and click on that link. From here you will want to click on ‘Create New Database’.

You will notice that my DA username is different from my Cpanel username, for example I have a kb244_macb.sql file, so in this case I’ll want to enter macb into the first cell, resulting in testuser_macb. The same goes for the username, for example if your wordpress username was kb244_dbuser (and you changed it to testuser_dbuser in thw wp-config.php file) you’ll want to enter dbuser into the second field. For the password field make sure you use the same password that your script was already using for the database. Repeat this step for each database you have.
Tip for Shell Users
If you are able to log into your account via SSH, simply upload the .sql files via FTP/SCP to your home folder, from there you can enter the following command to quickly import your database.
mysql -utestuser_dbuser -p testuser_databasename < sql_file.sqlFor each of your SQL files you can compress them as zip files. Return to the MySQL Setup screen, and click on phpMyAdmin in the top left corner.
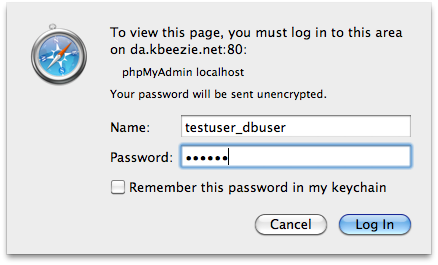
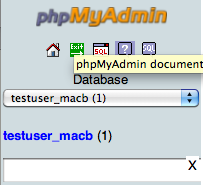
Enter the database username and password for the database you are trying to upload. Once inside click on the database you wish to upload on the left. Then click on the import tab. Select your compressed sql file, and click go. If all went well you will see a success message, followed by the database showing a table count next to it.
To upload another database for a different database user click on the exit icon near the logo to be prompted for another user name and repeat the process.
Step Five – Final Cleanups
Well the easy part is out of the way, now you’ll need to make sure that folders that need write permission are site, as well as re-adding your email aliases and forwarding addresses. If you would rather not hassle with email every time you move you can always sign up for Google Apps and use your own [email protected] email via Gmail regardless if where you are hosted.
Some common issues you may run into depending on the scripts you run could be as mentioned before file/folder permissions which can be set in the DirectAdmin file manager, or file paths may need to be change din scripts that rely on absolute file paths.
This is by no means an easy task, but hopefully this writeup can least help you get the most important bits out of the way. If you would rather learn how not to use a control panel at all and thus free yourself of some resource hogs take a look at ZenSSH for tutorials on how to move to a more reasource-friendly and higher performance control-panel-less configuration with your own VPS.